Updated December 13th, 2015.
They don’t give you much of a manual when you buy an iPhone, and that’s too bad because there are lots and lots of cool features that aren’t obvious right off the bat. The Maps app is a case in point. Here, then, are some hints for using the Maps app. Try ‘em.
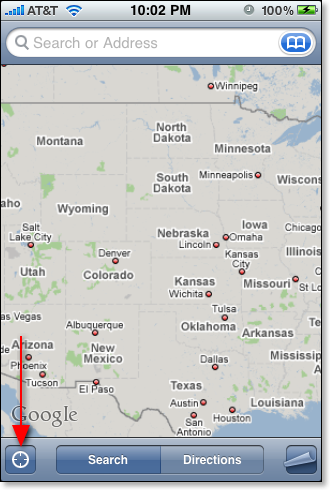
Tip #1: Use the Current Location button.
Look at the picture below. See where the red arrow’s pointing? That’s the “Current Location” button. Touch it, and assuming you have either cell phone or WiFi coverage (or both), you’ll see a map with your location indicated by a blue pin and a blue circle. Knowing where you are is a huge advantage, even if you end up calling someone to get directions rather than do it all yourself. Note: the Current Location button is happy to oblige at 10:02 PM, and even later.
Tip #2: Use the Search feature.
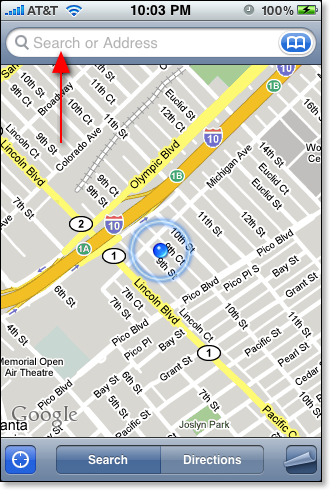
You can see my location indicated by that blue pin and the blue circle. (A small circle indicates good accuracy. A large circle indicates bad accuracy.)
This is Google Maps, friends, so you can search for anything. I think I’ll look for a nearby place to get coffee, but you could search for ATMs, books, hamburgers, gas stations, whatever. Start by tapping where the red arrow points.
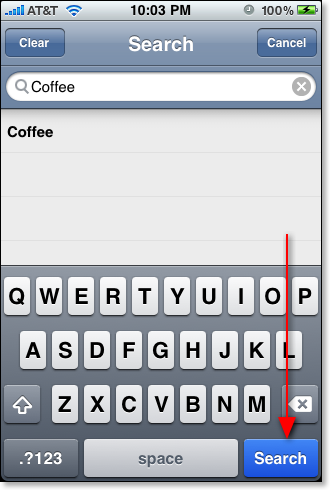
As soon as you touch the Search field a little keyboard shows up. Type what you want, then tap the big blue Search button.
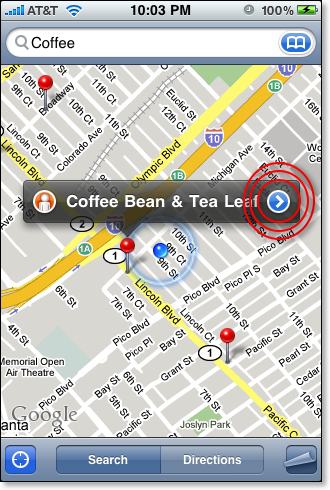
Looky what I found– some coffee places, indicated with red pins on the map. Super. The nearest one has a little label showing you what it is. You can click on the other red pins to find out what they are too. This leads us to our next tip, which is…
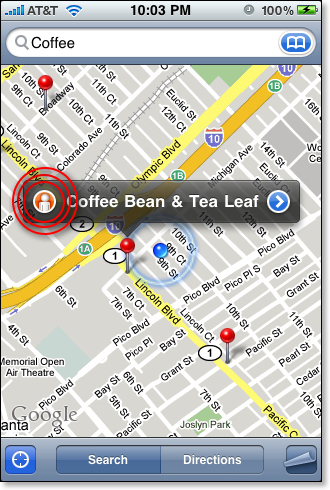
Tip #3: Touch the white chevron in the blue circle (highlighted here in red, though it won’t be on your iPhone). This will lead to more info.
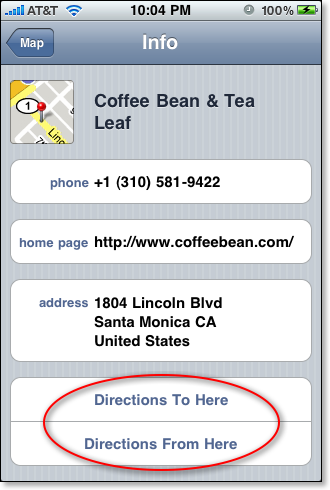
Here’s what you get– phone number, home page, address, and some handy buttons for getting directions. Usually, the one you want is “Directions To Here.” For now, let’s just go back by tapping the “Map” button at top left.
You may have noticed another little button at the left side of the pin’s label. That indicates “Street View,” the amazing photographic representation of the place. Touch it (circled in red here).
When you touch that button you get Street View, which in this case looks like so:
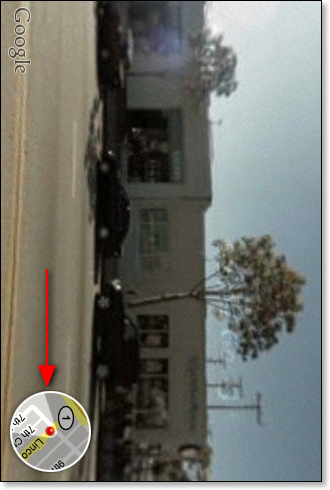
(Yes, it’s sideways. Street View is always sideways. Just rotate the iPhone.)
Tip #4: drag around on the photo in Street View to show the other side of the street. Or, when you’re viewing down a street, tap the big arrows in the street to “drive” in that direction. Street View is sort of a gimmick, but when you’re trying to find the Coffee Bean it can be handy to know it’s a white building with a tree in front.
Tip #5: touch the circle (highlighted here with the red arrow) to get out of Street View and back to the map.
Tip #6: tap anywhere other than on a pin or its label to hide all the labels. You’ll see something like this:
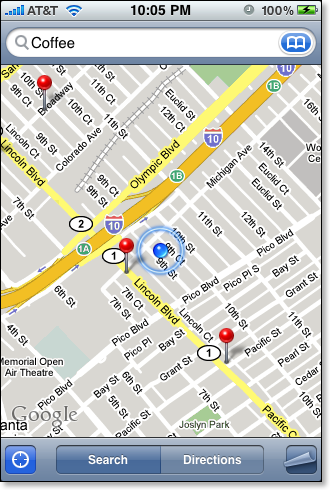
Tip #7: Tap the Page Curl button. I’m pointing to it with the red arrow.
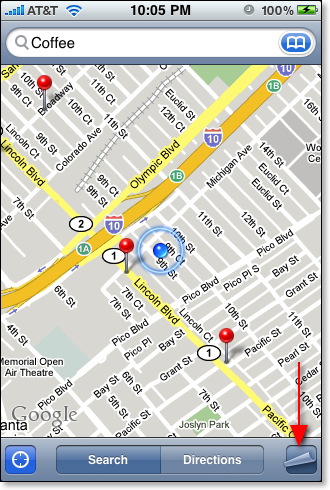
Look at all those options.
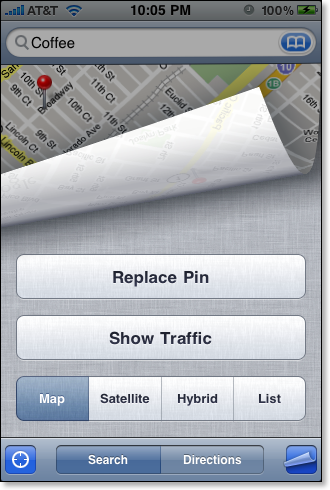
Showing Traffic is handy (green is fast, yellow is not so fast, red is bad). The Map view is what you’ve been looking at the whole time. The Satellite view shows you an overhead photo of the map. The Hybrid view shows you the Satellite view, with the Map view drawn on top of it. Use the List button when you want directions in list form rather than graphically.
If you tap the Show Traffic button you get something like this. Note that they don’t show traffic on surface streets unless they happen to be state highways, and they won’t display freeway traffic everywhere (such as out in the country). It’s hard to complain though, considering it’s a free service. Thank you Google.
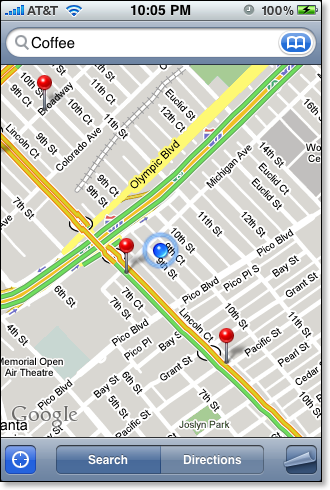
Looks like it’s going to be a smooth drive. 10 PM is like that.
One more tip for you.
Tip #8: double-tap with one finger to zoom in. Double-tap with TWO fingers to zoom out. Sure, you can pinch and un-pinch, but double-tapping is easier, at least for me.
Here’s the map after a couple of one-finger double-taps:
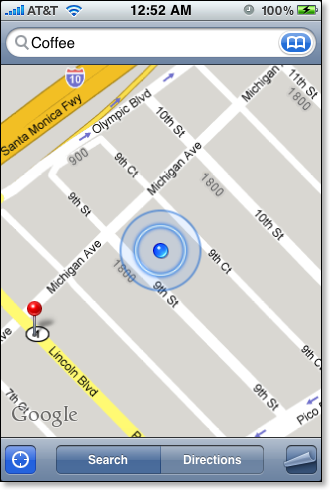
And here’s the map after a couple of two-finger double-taps. Pretty neat.
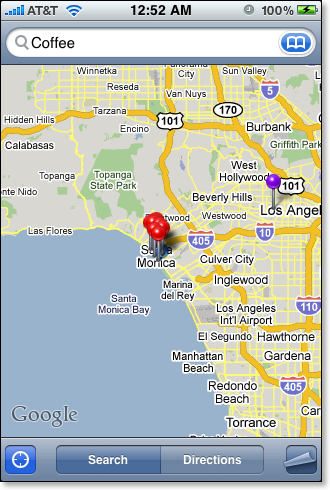
In case you wondered, the purple pin is a pin I dropped myself. That’s an option under the page-curl button. You drop a pin when you want to remember where you were.
OK, that’s it. Lots of little hints that add up to Total Maps Mastery. I could do the same thing for every standard iPhone app, and probably will, but it’s going to take a little while. Send me a note and tell me which app you want to know more about and I’ll prioritize by popular demand.
Copyright 2008-2024 Christian Boyce. All rights reserved.
Did this article help you?
Maybe you'd like to contribute to theChristian Boyce coffee fund.

Want some some quick iPhone how-tos?
Visit me at iPhoneinaminute.com.
Looking for quick tips about Macs?
See my One-Minute Macman website!
Please Leave a Comment