
Updated November 1st, 2022.
Did you know there are ELEVEN ways to add an attachment to an email message in macOS Mail? There are! Check ’em all out and find the one that’s easiest and most convenient for you!
The Eleven Ways to add attachments to a Mac Mail message
- The usual way: the paperclip
- Use the Photo Browser button
- Use the Share button (in other apps)
- Use the Share menu (in other apps)
- Insert from iPhone or iPad
- Drag icons into a Mail window from the Finder
- Drag icons onto the Mail icon in the Dock
- Drag directly from other apps into a Mail message
- Control-click Share
- Print… dialog (the PDF button)
- Our old friends Copy and Paste
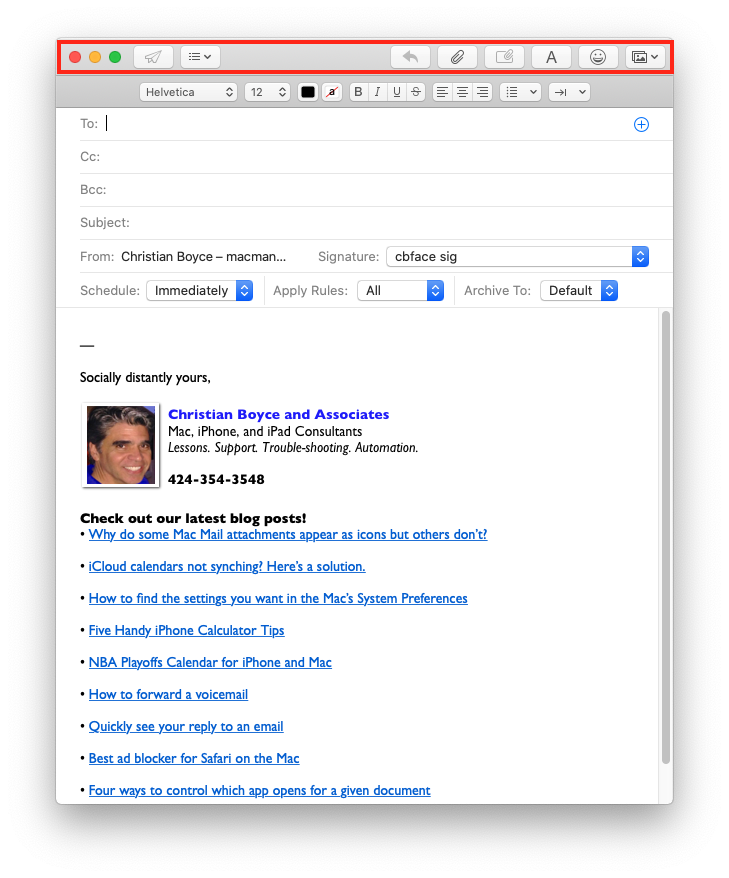
1. The usual way: the paperclip
Let’s start with the usual way: you make a new Mail message, and then you click the paperclip in the message’s toolbar.
This leads to a “Choose File” dialog box, so what you do is you navigate around until you find the file you want, and then you click it, and then you click the “Choose File” button.
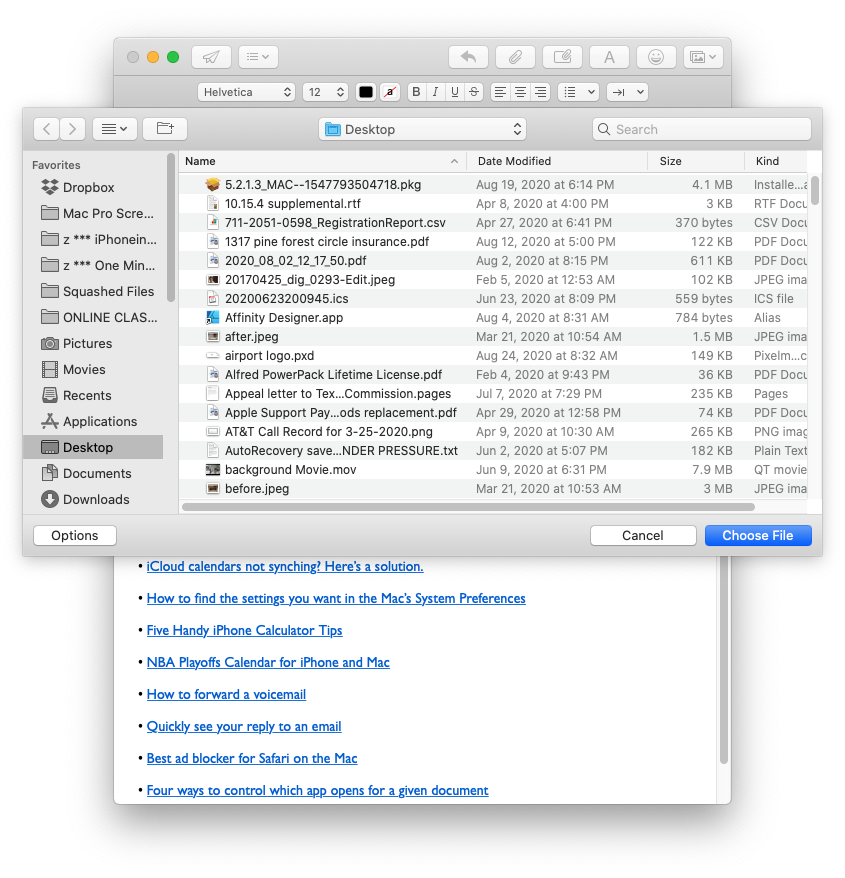
If that box looks daunting, it’s because it IS daunting. We have thousands, if not millions, of files on our Macs. Finding the right one via a box like this is hard.
Hard as it is, these three tips will make things easier for you, once you’ve gotten to the Choose File… dialog box:
- Double-click a file to eliminate the need to click the Choose File button. Saves you a click.
- Click once on a file, then press the Spacebar for a “Quick Look” at the file. If it’s an image, it will pop right up. If it’s a word processing document of some sort, you’ll be able to read it. This helps ensure you’ve chosen the right document to attach. Press Spacebar again when you’re done.
- Command-click to select more than one file, if your goal is to attach more than one. You can still do the Spacebar thing, even with multiple files (use the arrows at the top left of the window, or click the thumbnails button right next to them. This saves you a second (and third, and fourth… ) trip to the Choose File… box.
Even with the tips, the paperclip method is one of the harder ways to attach a file, because you have to deal with the Choose File dialog box.
2. Use the Photo Browser button
If the item you want to attach is in your Photos library, or if it’s a picture you took using Photo Booth, the Photo Browser button might be the way to go. It’s a little slow to load the images but it’s a nice way to visually choose an image.

As with the paperclip method, start in Mail by creating a new Mail message. Then, click the Photo Browser button, then choose Photos… to bring up the Photo Browser. (Yes there are other items in that menu– we will cover them later.)
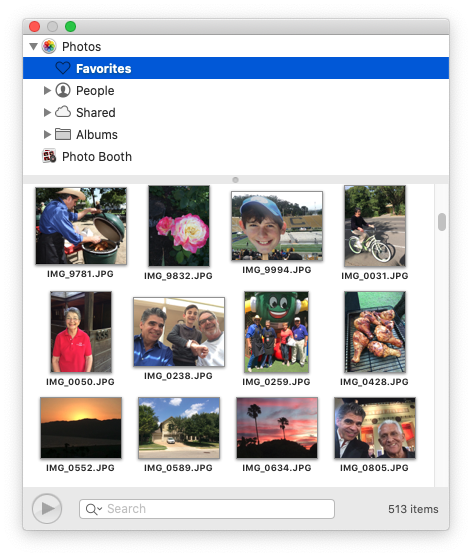
You can search in the Photo Browser but it only searches by the title of the image, not by the content or location. If you want to search for pictures of sunsets, or mountains, or of some particular location, use the Photos app (see below).
3. Use the Share button (in other apps)
Many apps include a Share button.

Apps can implement the Share button in different ways, but in general they’ll drop a menu when you click the Share button with options you can choose from. What we’re looking for is some mention of “Mail,” as see here in the Photos app:

Note: When sending attachments via the Share button you don’t write the email first. Instead, you go to the image or document you want to share, and initiate things from there. Mail will be launched automatically (if it’s not open already), a new message will be created, and the document you’re looking at will be attached. Easy as can be, all in one step.
Share button examples
Here’s what it looks like when you click the Share button in Photos. If you select multiple photos in the thumbnail view you’ll create a single email with multiple attachments.

Notice the bottom of the menu: those are people I’ve emailed recently. If it happens that the person you want to send the attachment to appears at the bottom of the menu, select it to create a new message, addressed to that person, with the image attached.
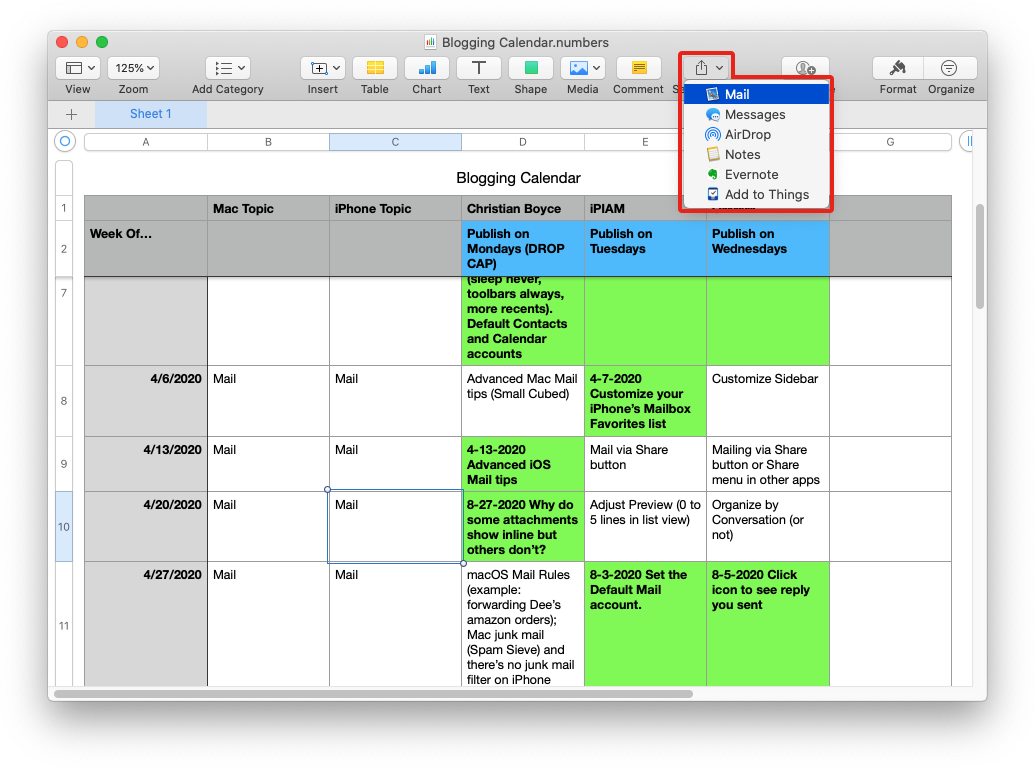
Here’s creating an email with a spreadsheet via the Share button in Numbers:
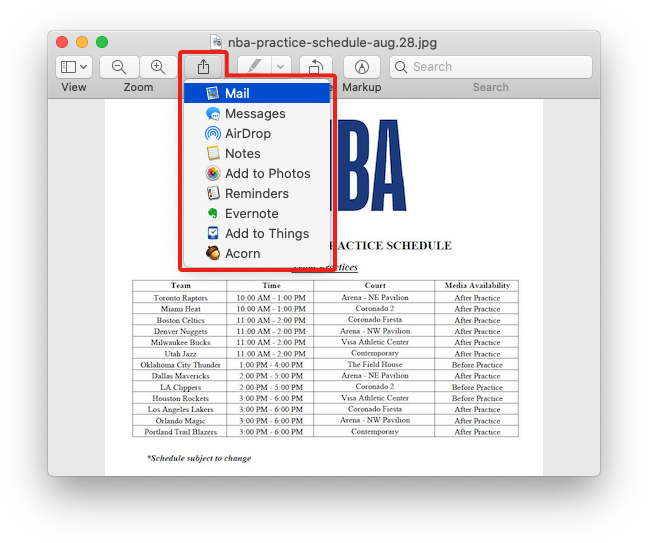
Here’s creating an email with an image via the Share button in Preview:
As you can see, each app does things slightly differently, but the idea is the same: get the document open, click the Share button, and choose “Mail.”
4. Use the Share menu (in other apps)
We’ve seen the Share button. Now let’s look at the Share menu. Not all apps have one, but when they do, it’s often under the File menu but sometimes somewhere else. You’ll have to look around. But the wording is always “Share.”
This isn’t an Apple-only thing. Even Microsoft Word and Excel have “Share” menus under File. If you’ve ever had a long Word document that you want to send as a PDF, you can do it in one step with File/Share/Send PDF.
As with the Share button, we don’t start in Mail. We start in some other app, and use that app’s Share menu to create and attach the document we’re looking at, all in one step.
Share menu examples
Here’s Preview’s Share menu. As you can see, you get more options with the Share menu than you do with the Share button.

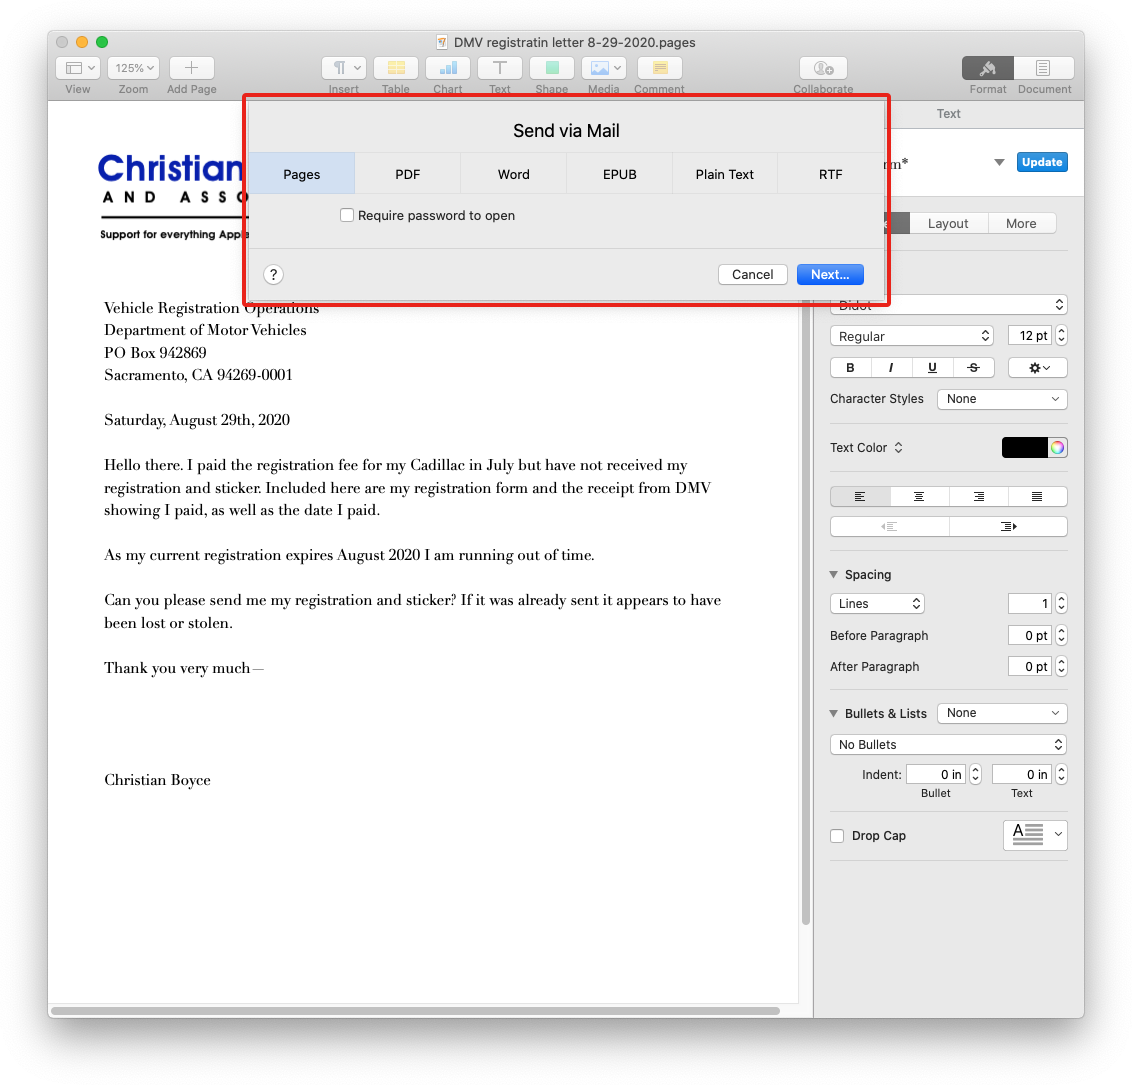
Here’s the Share menu in Pages (it’s its own menu):

When you choose “Mail” from Pages’ Share menu you get extra options: send as Pages, send as PDF, send as Word, etc. This is very handy as it doesn’t change the original document, just the copy you’re attaching to the email.
(My vehicle registration arrived two days after I wrote this letter– August 31st, 2020, the last day for me to be legal with the old registration.)
Using the Share menu in Pages is a real time-saver. Without the Share menu, sending someone an attachment as a Word document or a PDF is a six-stepper:
- In Pages, convert document to Word or PDF etc. via File/Export To…
- Save converted document somewhere you can find it
- Switch to Mail
- Make a new Mail message
- Click the paperclip and find your converted document (this can be the hard part)
- After sending, find the converted document and throw it away
With the Share menu, it’s a whole lot easier:
- In Pages, click Share>Send a Copy>Mail
- Choose Word or PDF
- Click the “Next” button
Try it and see!
5. Insert from iPhone or iPad
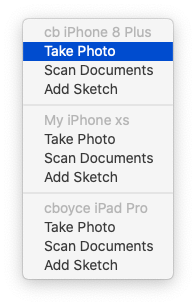
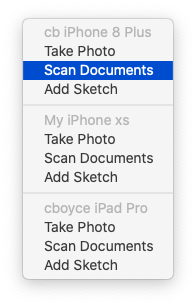
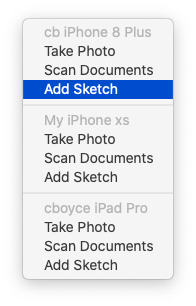
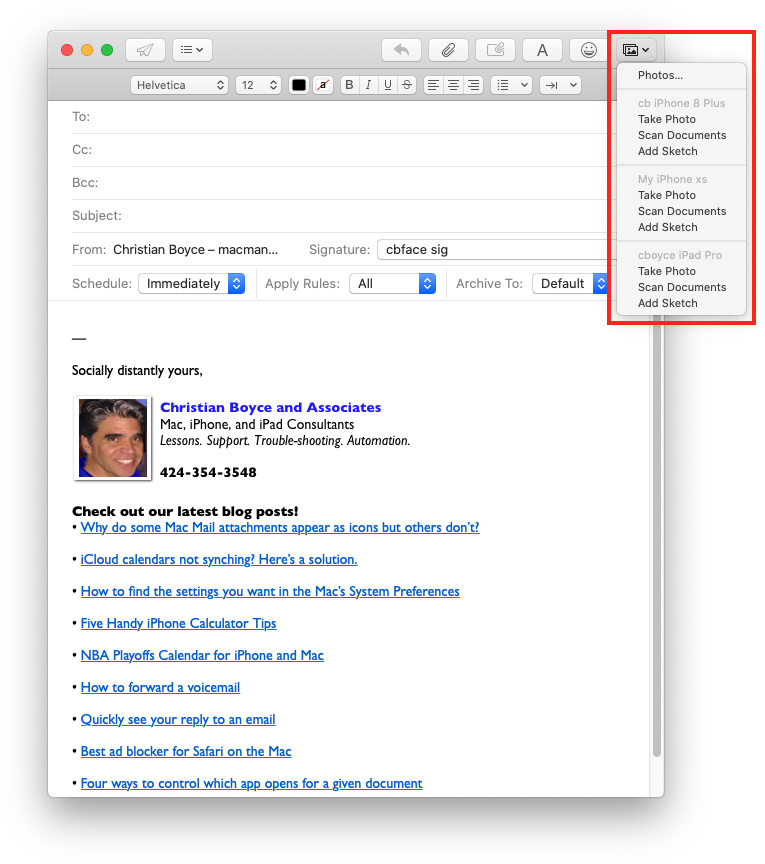
This is really magic. First, create a new Mail message. Then, under Mail’s File menu you’ll find “Insert from iPhone or iPad,” with some pop-out options:

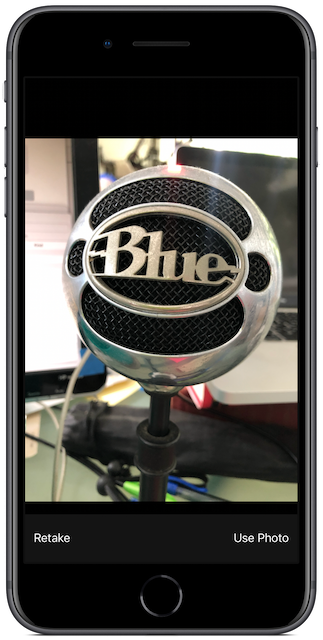
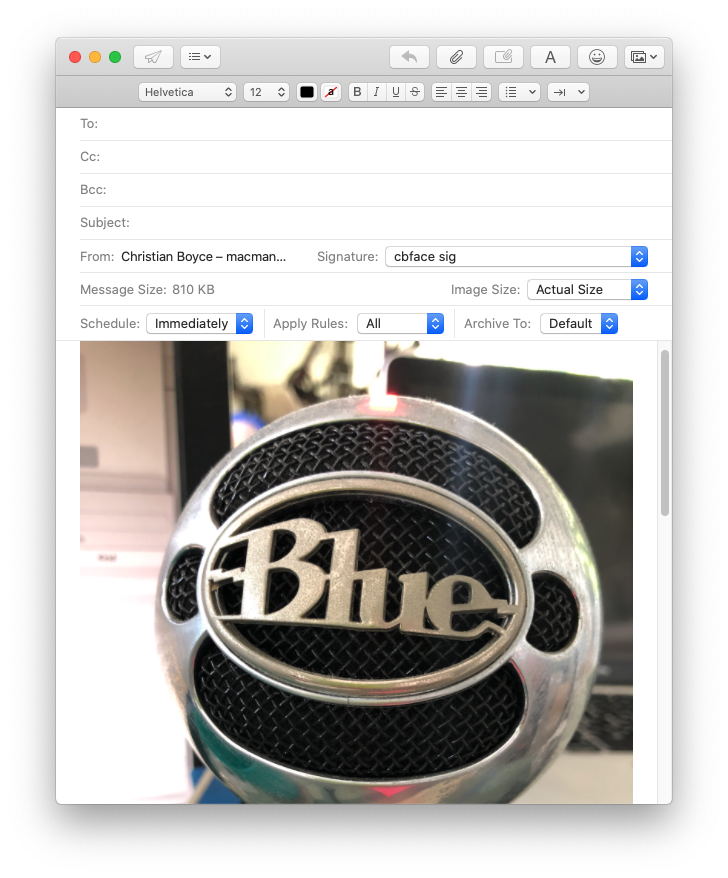
If you choose Take Photo your iPhone (or iPad) wakes up and switches to the Camera. You’ll see an indicator in your Mail message that you’re about to insert a photo via your Phone (or iPad), and you can cancel if you’d like.

Grab your iPhone, take a photo, then tap “Use Photo” at the bottom (or “Retake” if you want to try again).
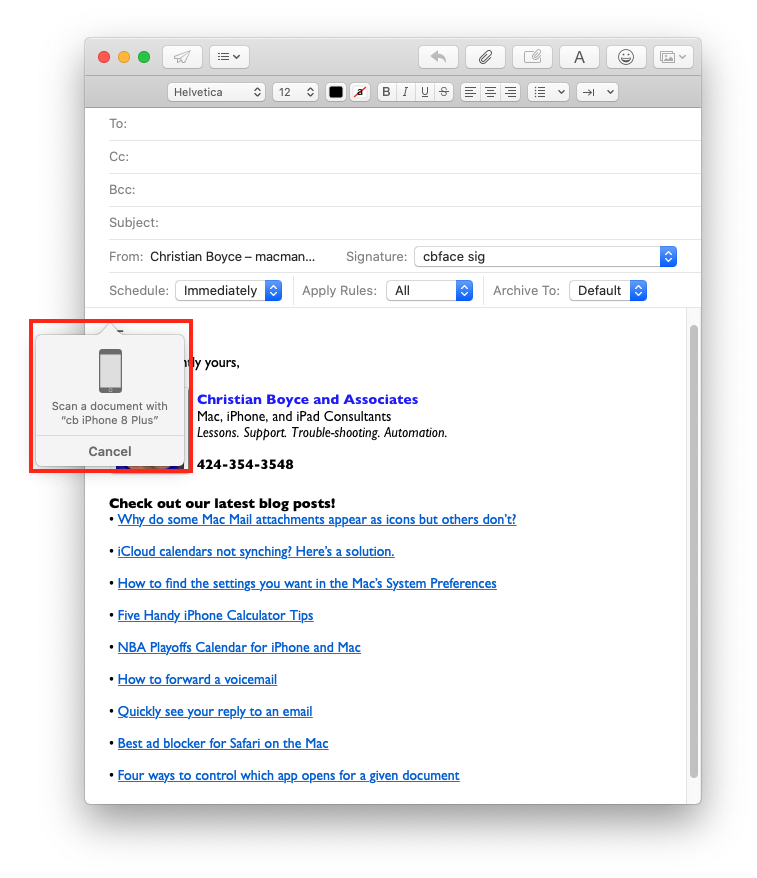
If you choose Scan Documents, your iPhone wakes up and switches to the scanning mode (great for taking pictures of books and magazines because it lets you straighten things out). As with Take Photo, you can cancel if you’d like.
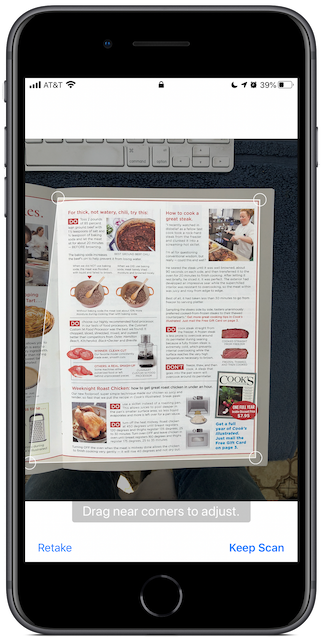
You can tap “Keep Scan” and be done, but it’s better if you do what they say: “Drag near corners to adjust.” That is, grab the knobs at the corners of the overlay and put them on the corners of what you’re scanning. Like this:
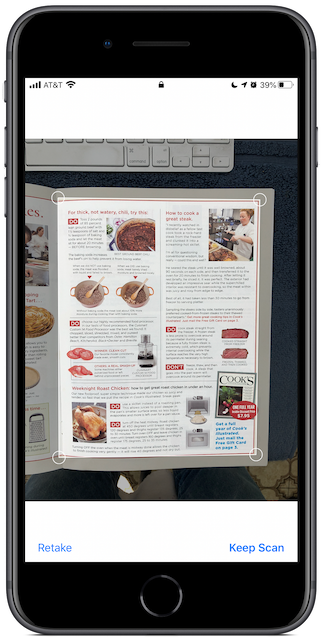
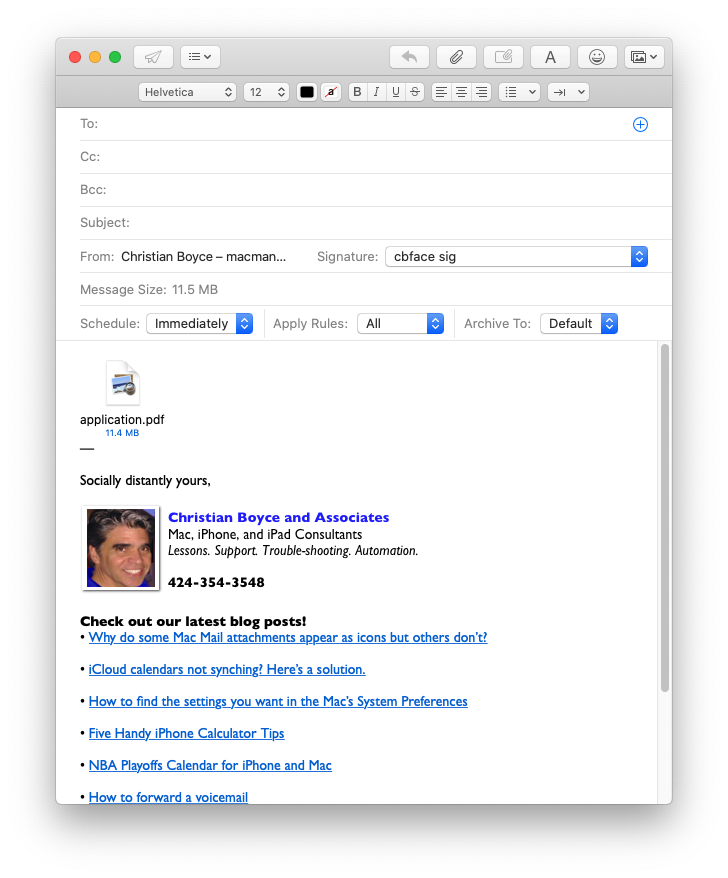
Now tap “Keep Scan,” and then “Save” (or scan more pages, and then Save) and the image is inserted into your Mail message, nice and straight.
(If you’ve scanned multiple pages they’ll be combined into a single PDF, displayed as an icon. If you’ve scanned just one page it will show up “in line.” Click to learn why some attachments are icons and others appear in line.)
If you choose Add Sketch your iPhone (or iPad) wakes up, a sketching app appears, and you can free-form draw a picture.
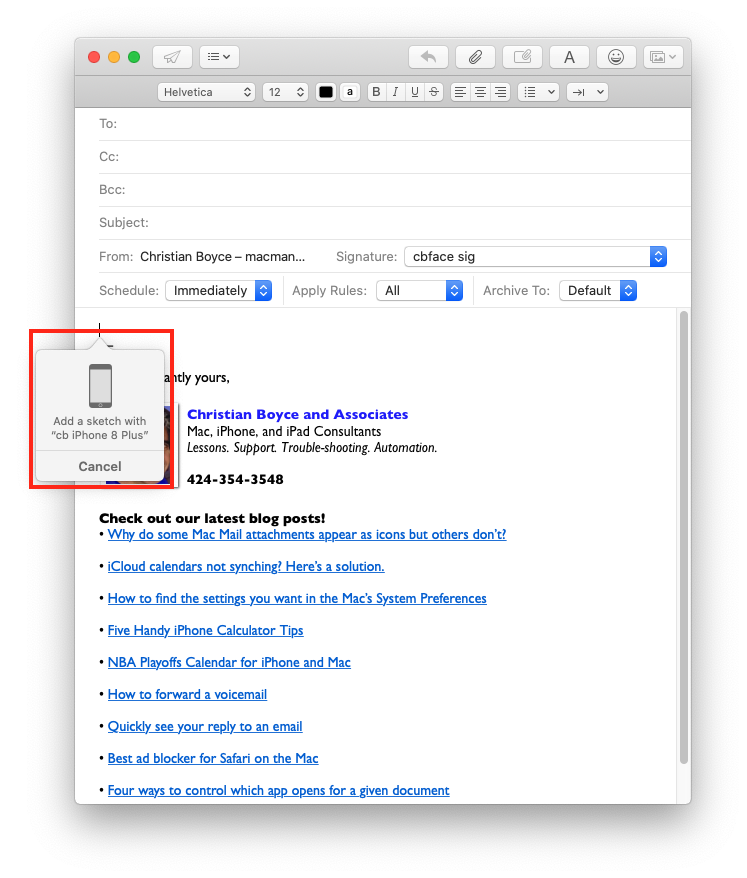
Similar to what we’ve seen before, you see an indicator saying “Add a sketch with (name of your iPhone).” Your phone switches to a sketch pad (automatically!) and you can use the iPhone’s standard drawing tools to make a sketch.
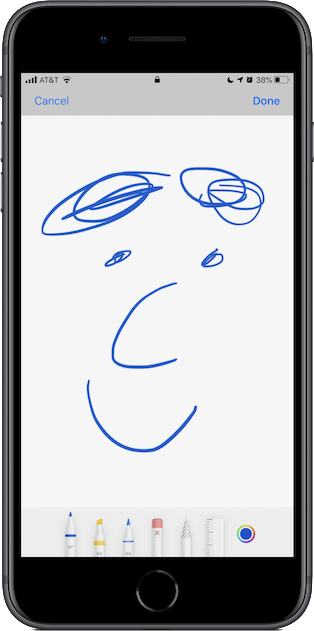
When you’re done, tap “Done.” The sketch is inserted into your Mac Mail message.

Note: Insert from iPhone options are also available when you click the Photo Browser button in a Mac Mail message’s toolbar.
6. Drag icons into a Mail window from the Finder
This is really easy. First, make a Mail message, then find the icon you want, maybe on the Desktop, maybe somewhere else, and drag it into the Mail message, right where you want it. Then let go.
Here’s a little screen recording to show what I mean.
The only hard part is you have to resize your Mail app’s windows so they aren’t covering the entire screen.
(I use “Moom” to make resizing windows fast and precise– this article tells you all about it.)
7. Drag icons onto the Mail icon in the Dock
Easy again. Mail doesn’t even have to be open! You can drag one, two, or several icons from the Desktop (or from any folder) to Mail in the Dock and no matter what, Mail comes to the front, a new message is made, and the items you dragged are attached.
Bonus variation: you can drag file and folders to app icons in the Finder Toolbar across the top of each Finder window. The advantage is that the Mail icon in the Finder toolbar is often closer to where the file is, a shorter dragging distance than to the Mail icon in the Dock.
(Here’s how to put icons into the Finder’s Toolbar.)
8. Drag directly from other apps into a Mail message
Some apps allow you to drag directly from an open document into a Mac Mail message. For example, you can drag thumbnails or expanded images from Photos, Layers from Pixelmator Pro, chunks of text from Pages, and images from Safari. (You can drop those things anywhere in the message that you like.) See below.
9. Control-click Share
This can be very handy, because all you have to do is locate the files or folders you’re interested in, and then Control-click on them (or it) to produce a menu directly under your cursor. Totally minimizes mousing around.
When you Control-click on the item you get this menu:
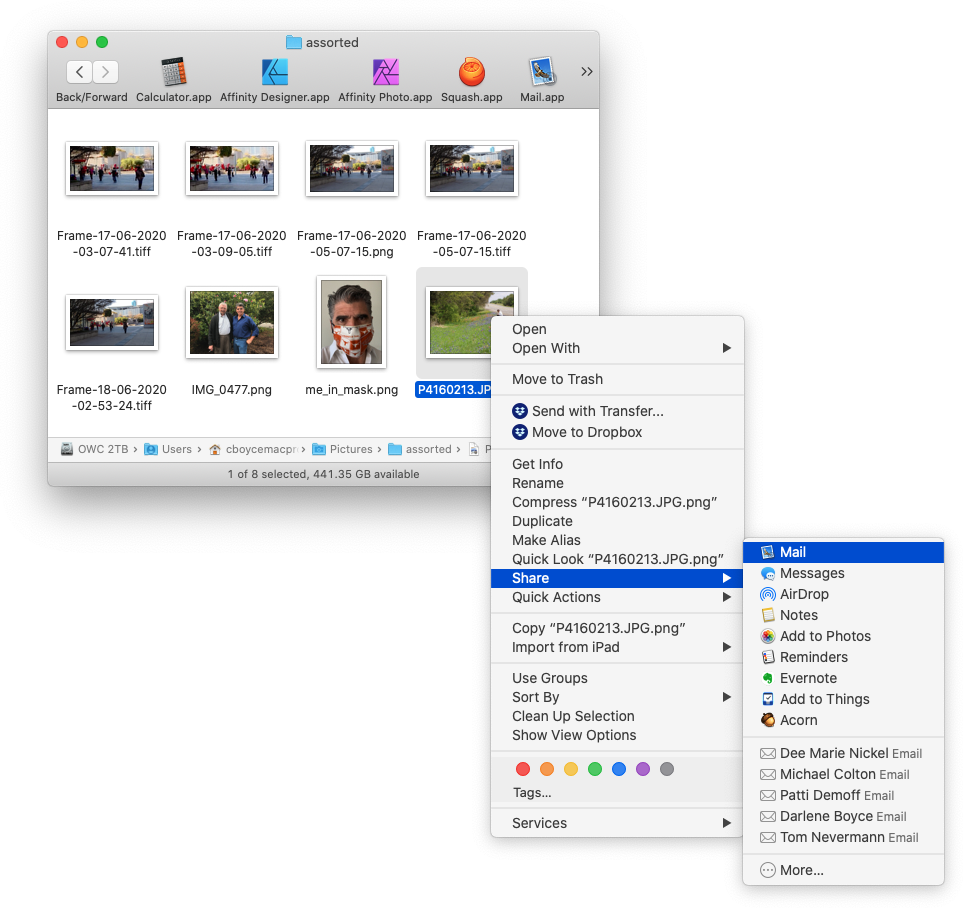
Choose “Mail” and a new Mail message is created, with your selected item attached. All in one move. Super cool.
10. Print… dialog (the PDF button)
What about apps that don’t have a Share menu, or a Share button? Can you still start in those apps, and somehow create a Mail message with an attachment?
Of course you can.
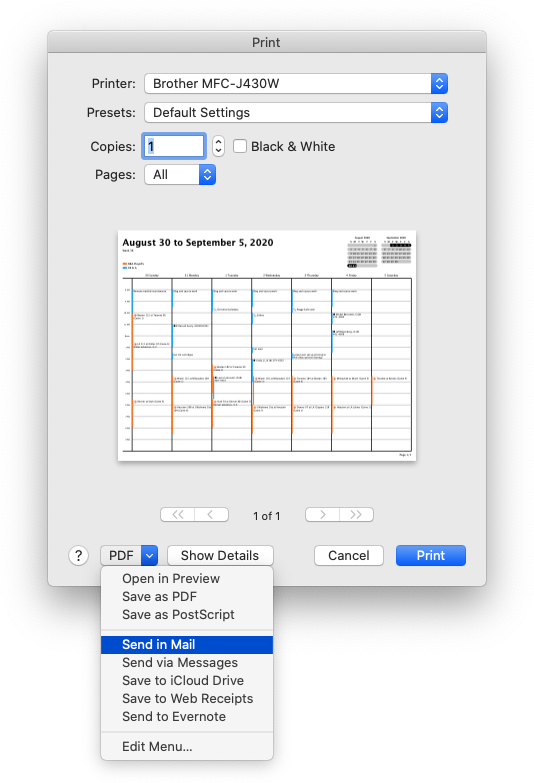
The secret is in the Print… box. And it works in every app that uses Apple’s standard Print… box, which is practically every app, period. Go to Print, then click on the PDF button at the bottom left of the Print… box, and then choose “Send in Mail.” So easy!
Calendar example
Here’s how it looks in the Calendar app…
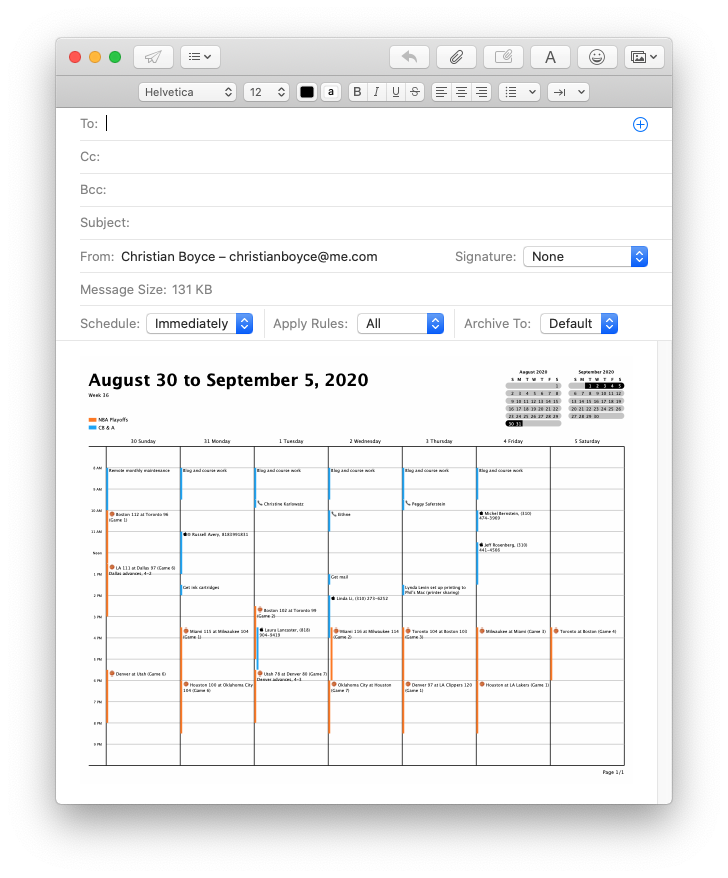
And here’s the result.
Affinity Designer example
Here’s how it looks in Affinity Designer…

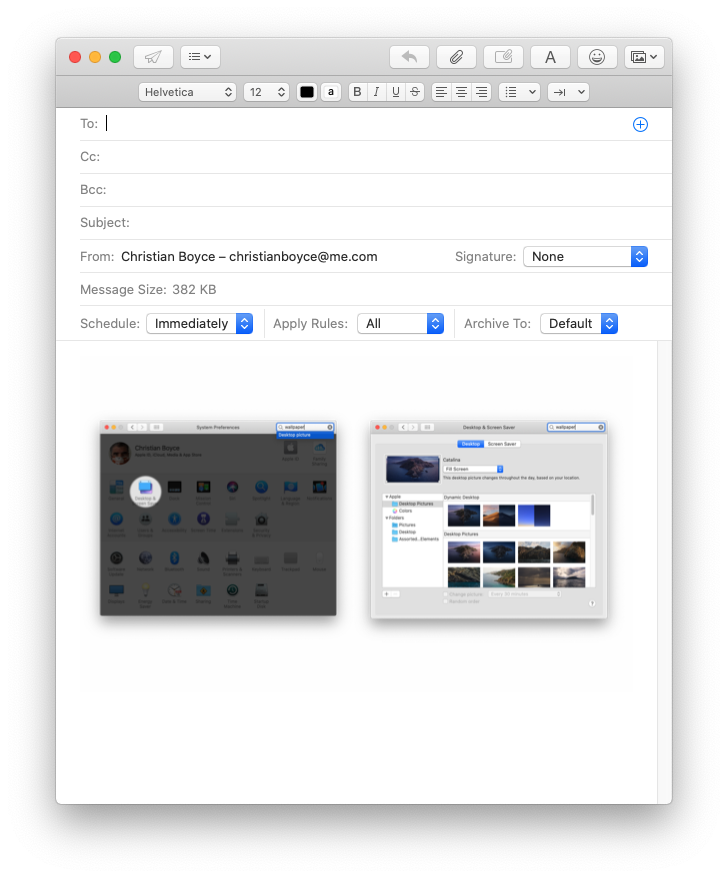
And here’s the result.
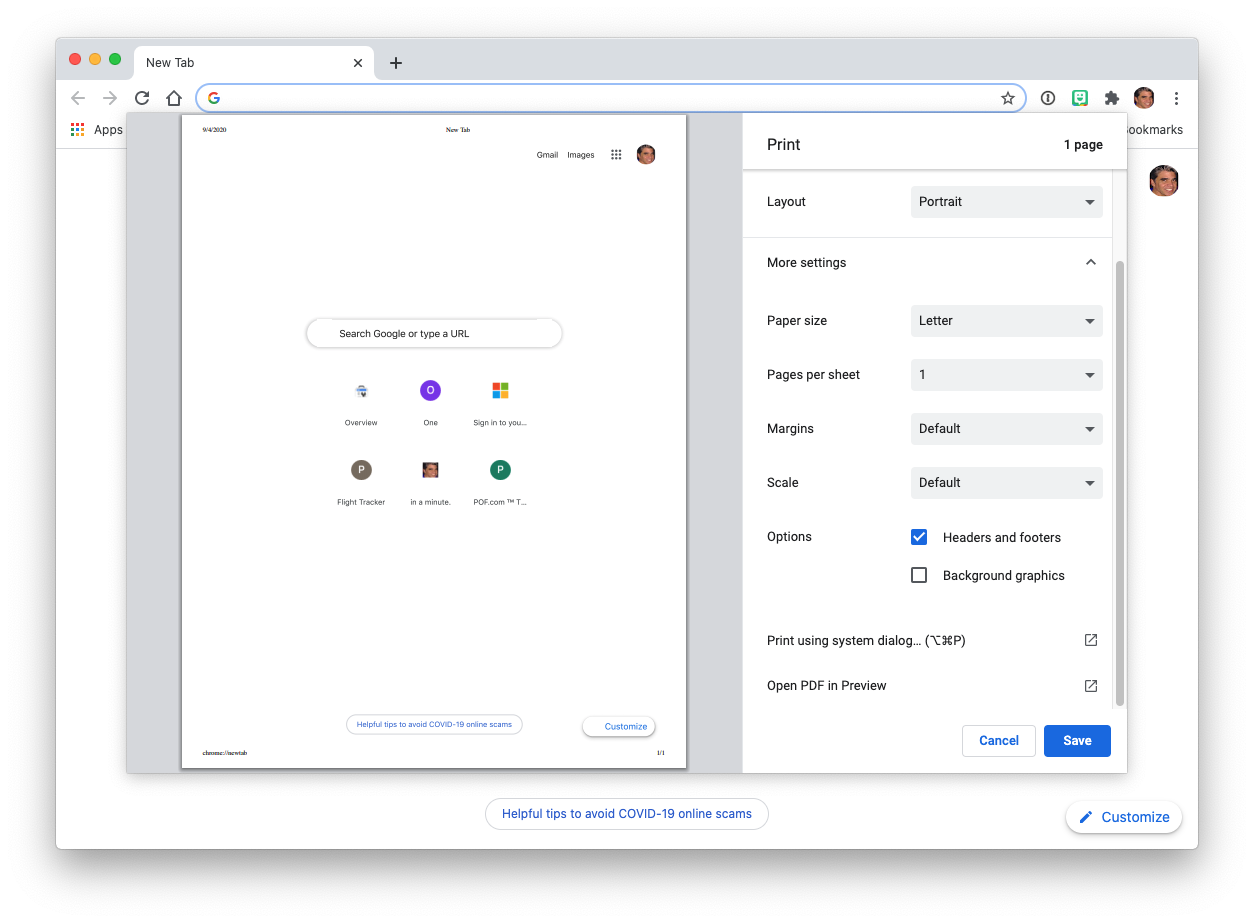
(The one trouble-maker is Chrome– in that case, go to Print…, and then “More Settings” and then “Print using system dialog…” Once you get back to the standard, Apple “system” Print… box Chrome behaves like the others– that is to say, “properly.”)
11. Our old friends Copy and Paste
Last but not least are our old friends Copy and Paste. You can copy almost anything, from almost any document, and paste it into a Mac Mail message.
Three ways to copy
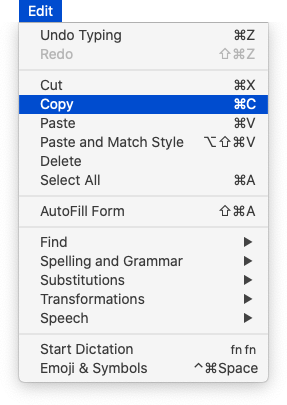
If you can select something, you can probably go to Edit and Copy it (or use the universal keyboard shortcut ⌘-C).
It might be more convenient to Control-click and choose “Copy” from the contextual menu. Here I’m copying an appointment from the Calendar app.

Sometimes the easiest (or only) option is to take a screenshot. Ah, but that isn’t copying, is it? Screenshots create files on the Desktop, right? Right– unless you add the Control key to whichever screenshot method you’re using. When you do that, the screenshot is captured to the Clipboard (that is, it’s Copied) rather than saved as a file on your Desktop
For example: if you’re using Command-Shift-3 to take a screenshot of the entire screen, add the Control key (so it’s Control-Command-Shift-3) and you’ll have that screenshot on your Clipboard, read to Paste. If you’re using Command-Shift-4 to capture part of your screen, use Control-Command-Shift-4 to capture it to your Clipboard for later Pasting.

Now that you have something Copied it’s a simple matter to go to your Mail message, click where you want to Paste, and then either Edit/Paste or ⌘-V.
Paste Variations
If you copied an image, Paste is all you can do. There aren’t any options. But if you copied text, you might prefer the Paste and Match Style command (also under Edit). Paste and Match Style makes the text you’re pasting match the look of the text you’re pasting into.
Here’s my article on Paste and Match Style.
You might like an app called Paste, which remembers everything you’ve Copied so you can Copy a bunch of stuff now, and Paste it later– maybe much later, like sometime next week. I use Paste all day long– it feels like part of the Mac (and one day it might be, as Apple has a history of either copying such things, or buying the companies that make them).
Here’s my article on Paste. There’s a 14-day free trial, so read the article and then start your trial. Paste is fantastic.
In Conclusion
This article was originally titled “Five ways to add an attachment to a Mac Mail message.” The more I thought about it the more ways I came up with, finally stopping at eleven. If you know another way, let me know, and I’ll add it to the article!
Copyright 2008-2023 Christian Boyce. All rights reserved.Did this article help you?
Maybe you'd like to contribute to theChristian Boyce coffee fund.

Want some some quick iPhone how-tos?
Visit me at iPhoneinaminute.com.
Looking for quick tips about Macs?
See my One-Minute Macman website!

Please Leave a Comment