Updated May 31st, 2019.
Looking for the first two parts? Here’s How to make a free WordPress Blog (Part 1) and here’s How to make a free WordPress Blog (Part 2).
This post focuses on the WordPress.com Dashboard. Let’s work our way down.
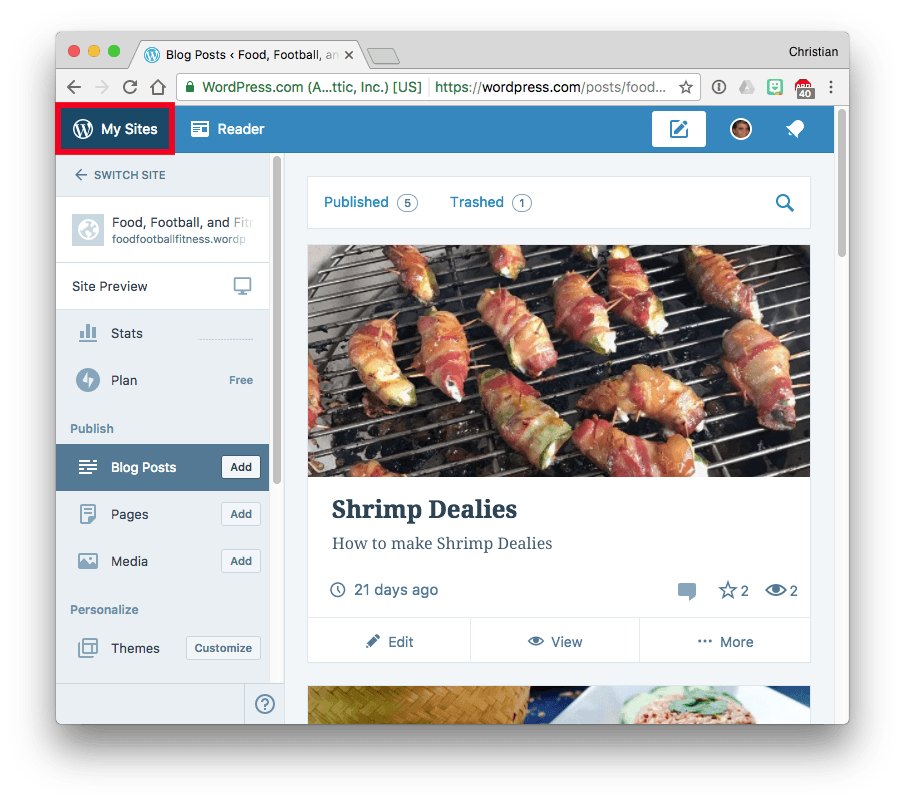
At the top you’ll find a button labeled My Sites. Once clicked, it stays clicked. You need to click it once to get the rest of the options in the Dashboard.
The next button down is Switch Site. I didn’t tell you this before, but you can have multiple WordPress.com websites under a single account. If you want to switch between them, you click the Switch Site button. If you want to add a new site, first you click “Switch Site” and then you click “Add New Site.” (If you only have one site, the “Switch Site” button isn’t shown.)


The next button is Site Preview. Click that to see how your site will look on a computer, a tablet, and a phone. Here’s an example.

The buttons across the top of the Site Preview window will Close the preview, Go to the site, or switch you between computer, tablet, and phone views. SEO (Search Engine Optimization) is not available in the free version of WordPress.com so I am not covering it here.
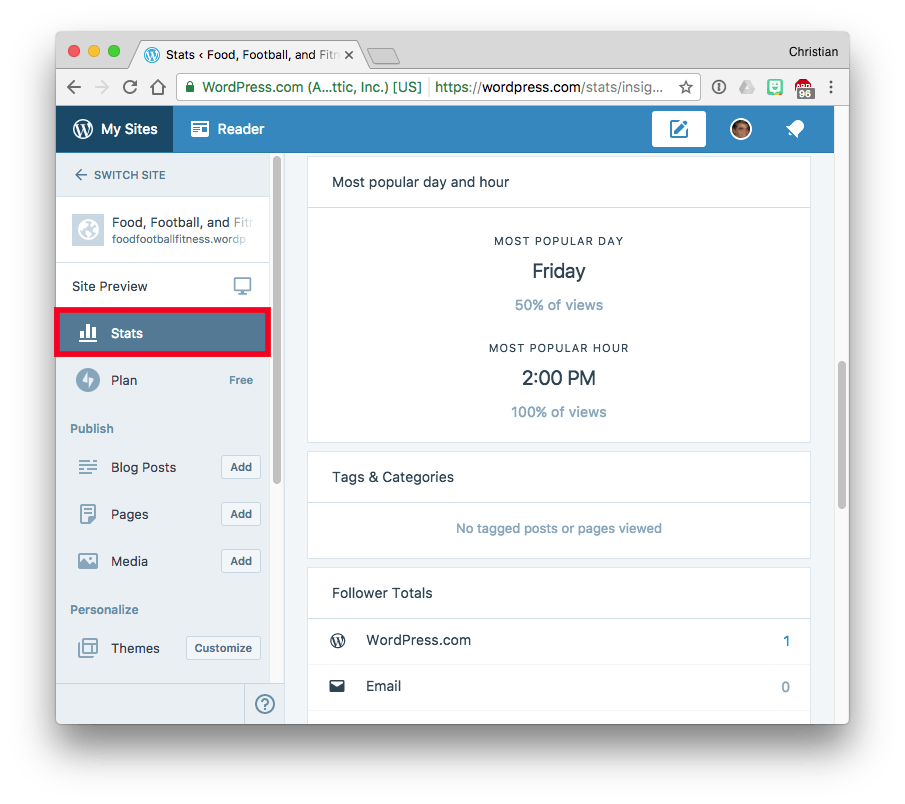
The next button is Stats. These statistics are compiled automatically; there is nothing to set up. You can see which posts are the most popular, which days see the most views, and so on.
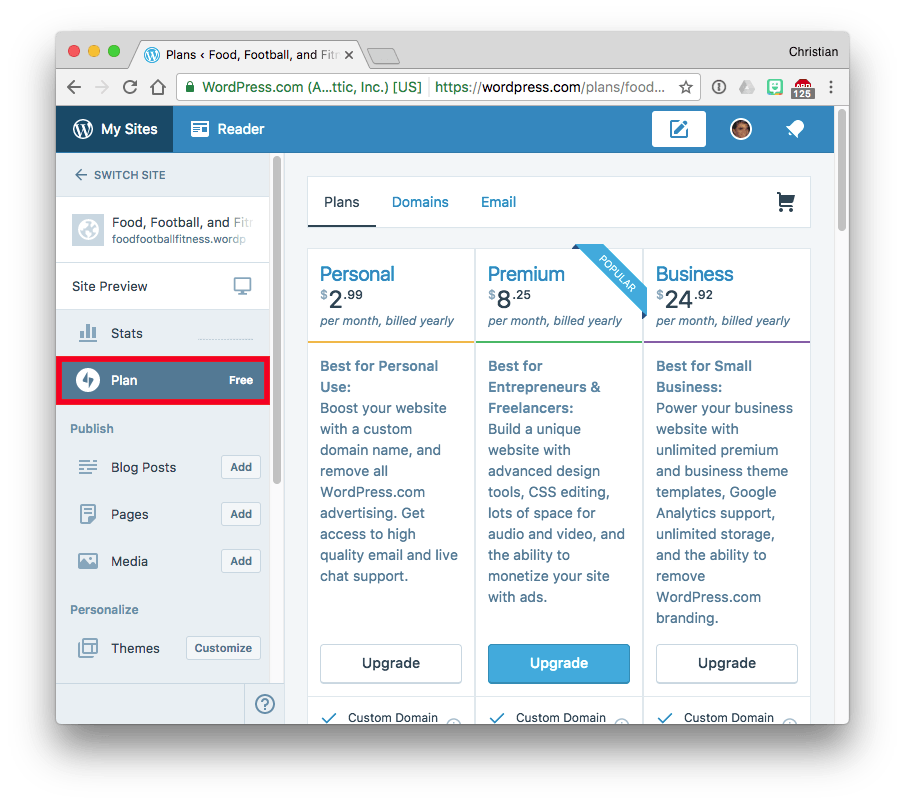
Next we see Plan. This is where you can, if you’d like, get more features in exchange for money. It’s easy, but that’s all– in my opinion, you are much better off with getting your own hosting, with more control over the look of your site, and email, for a lot less money than WordPress.com charges. Two hosting companies that I like: bluehost and FatCow. Note: those are “affiliate links.” I receive a commission for new accounts originating from those links.
The next section in the Dashboard have to do with publishing: publishing blog posts (we’ve done that), publishing pages (we haven’t done that), and publishing media (we’ve done this too).

In the blog posts section you can add a new post, or search for a post, then edit it, view it, delete it, duplicate it, add comments– lots of options.

In the pages section you can see a list of all of the “pages” on your site (different than “posts”– pages are usually static things like an “About” page, a “Contact” page, and so on).
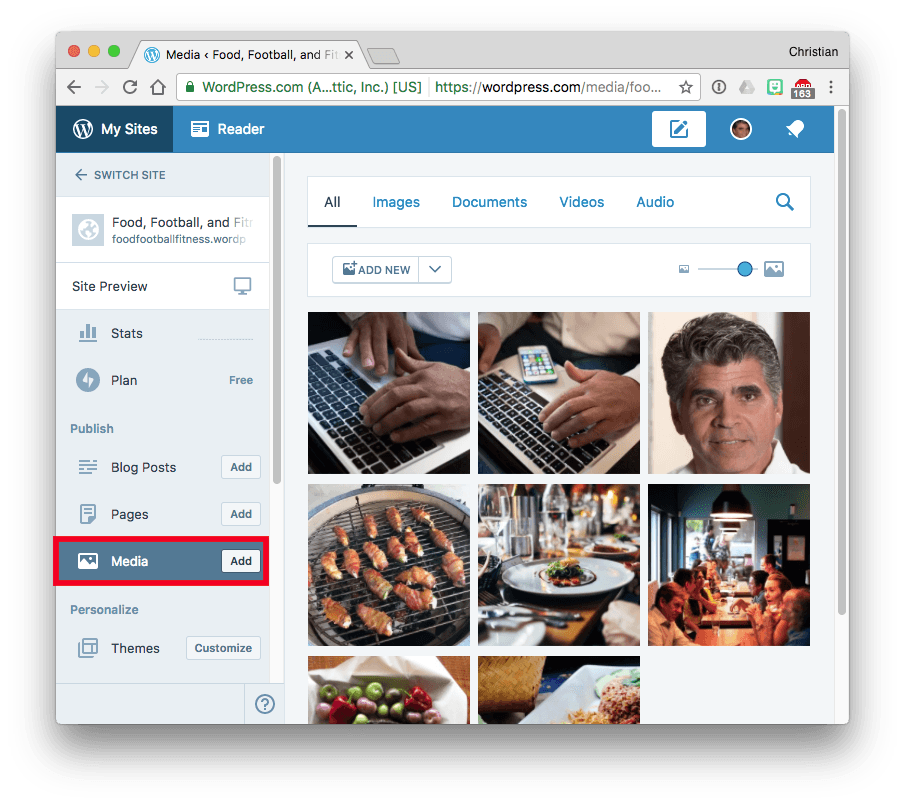
In the media section you can see all of the images (and documents, and videos, and audio files) that you’ve added to the Media Library, and then edit them, or trash them, or add new ones.
The next section, Personalize, is really fun. There’s only one item in it– Themes. Themes control the look of your site, but not the content, so you can apply a new theme without breaking your site. Within the Themes section we have two options: click on the word Themes to experiment with other themes, or click the Customize button to customize your site as we did before in Part 2 of this series. (You can also click a Customize button within the theme-choosing area– it’s at the top.)

You can experiment with different themes– just click on one to see how your site would look with different styling. Actually you have to do a little bit more than that– after you click on a new theme, you’ll have to “Activate this design,” and then “Visit Site.”
Note that WordPress.com provides some free themes, and some paid themes. Let’s stick with the free ones.
Here’s how my site looks with the free “Baskerville 2” theme. Quite a bit different!

TIP: remember the name of the theme you started with so you can find it again if you change your mind.
While we’re in the Themes section let’s look at some of the options available under Customize. These options are within the theme, and some themes have more than others. Many themes let you change colors and backgrounds, fonts, add menus, etc.
Here are some of the color options within the theme I’m using.

You should experiment with different fonts too. I leave that to you.
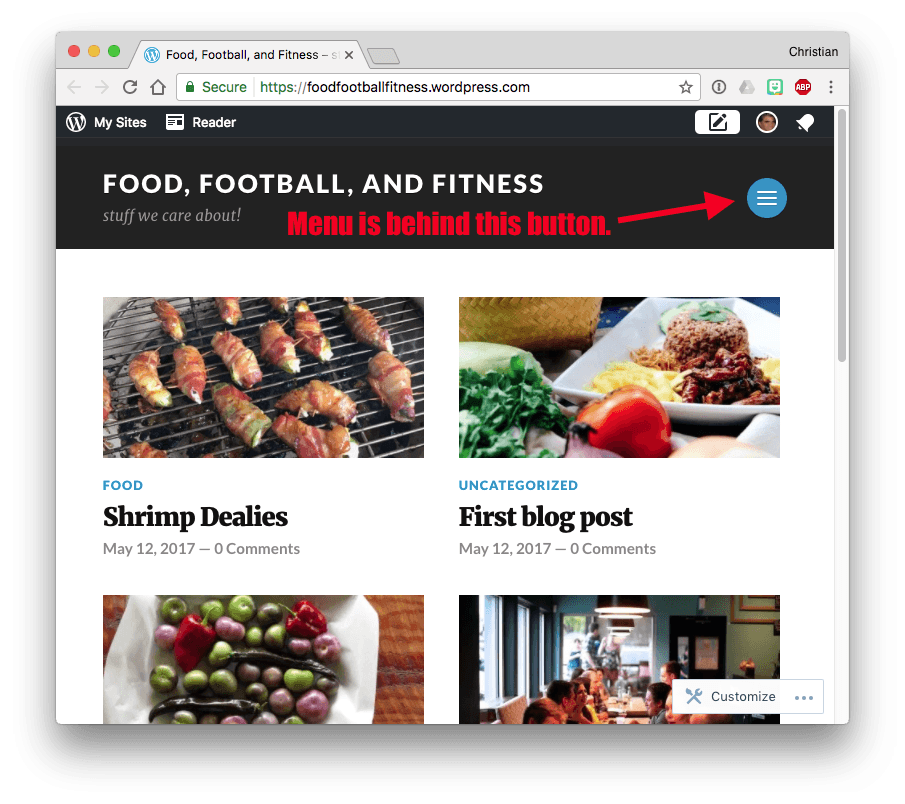
Menus are very important. They provide a means of navigating a site. Many WordPress themes have menus built in; our example theme has one, but it’s a little hard to see when the browser window is narrow. In that case, the menu is hidden under a button.
Here you see the menu button…
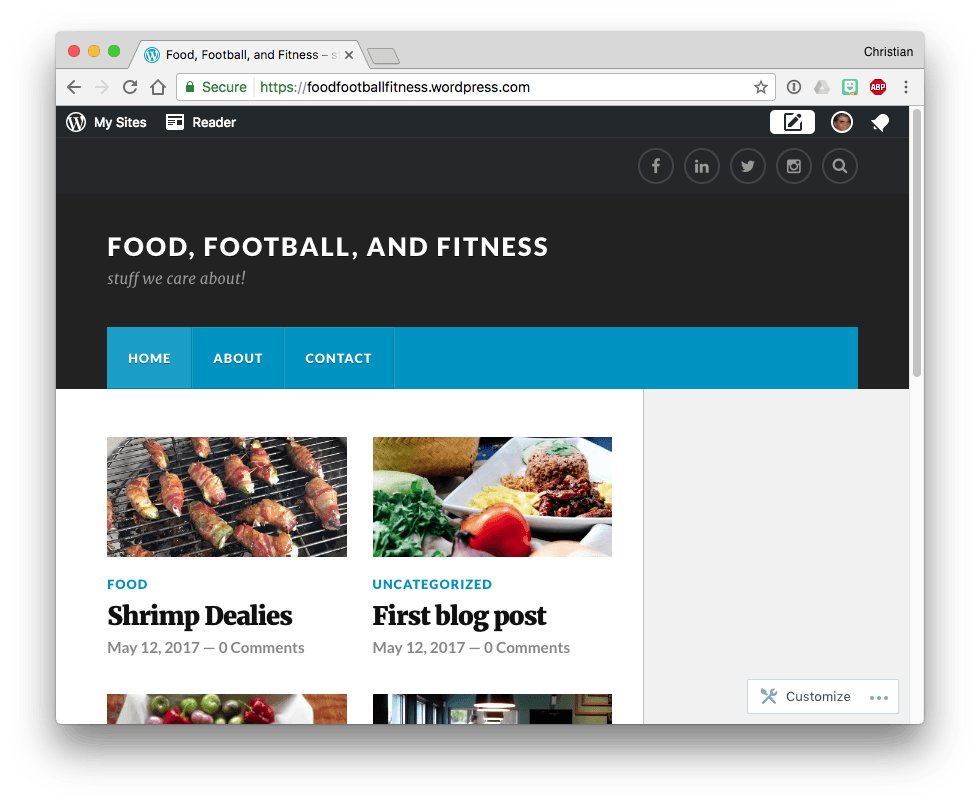
Here it is after clicking…

And here it is with a wider browser window.
(A theme that knows how to rearrange parts, depending on the window size, is known as a responsive theme and it is definitely something you want, especially nowadays when so many people view websites on iPhones.)
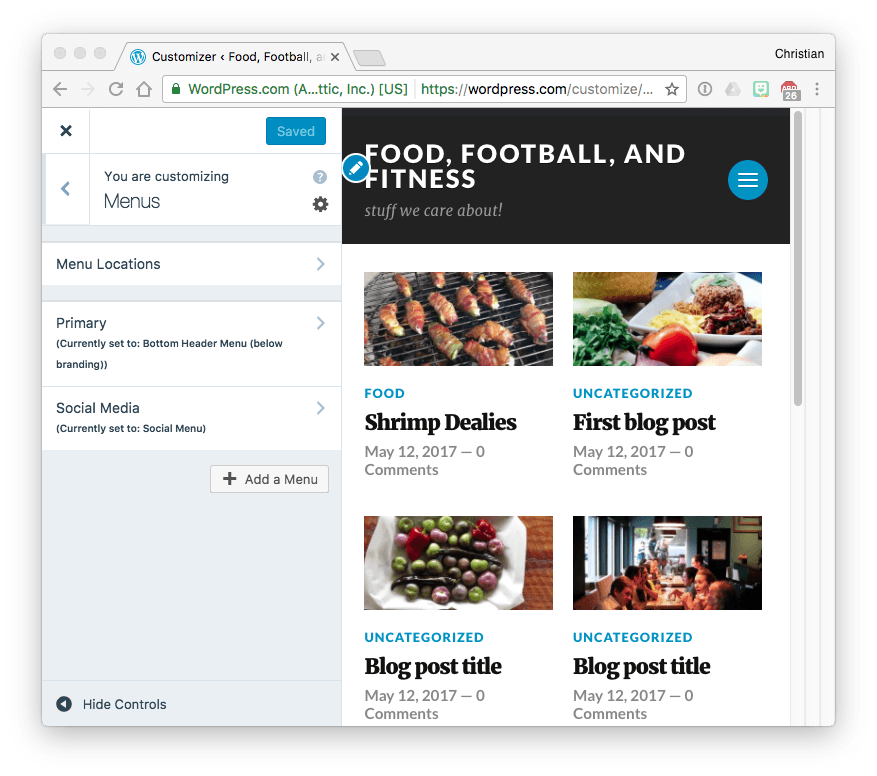
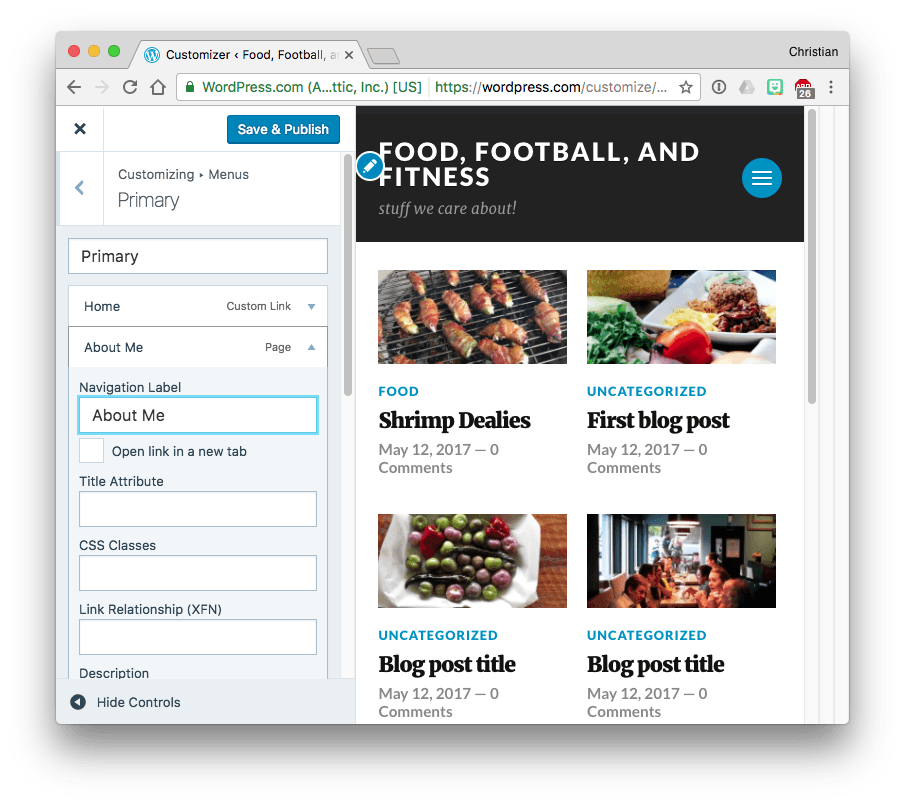
You can change the menu– change “About” to “About Me” or “About this site” if you’d like. (The programming behind the menus is done within the theme so the menu will “work” right out of the box.) If, in the Customizer, we click on Menus, we can change the menu. Actually, in our example theme, we have two menus: Primary, and Social Media. We’ll change Primary here.
In the Customizer, click on Menus, then Primary.
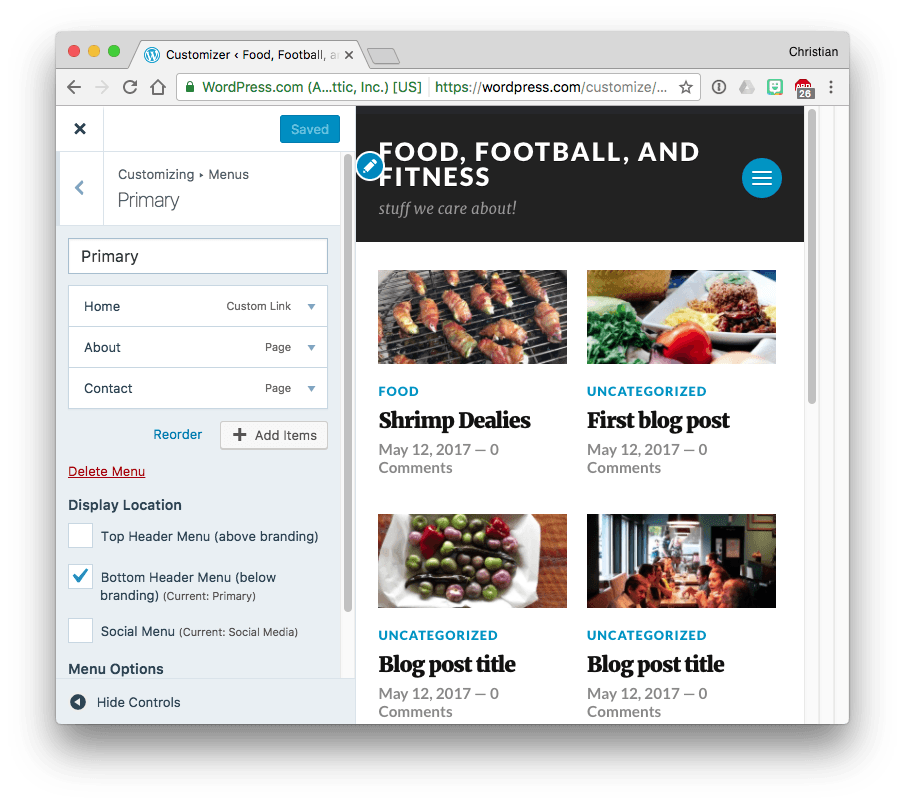
Notice we can choose where to put the menu– above the branding or below the branding. We can also add items to the menu (experiment!). All we are going too do is click on the “About” item and change it to “About Me.”

Make the change, click “Save & Publish,” and you’re done. And the menu will still work.
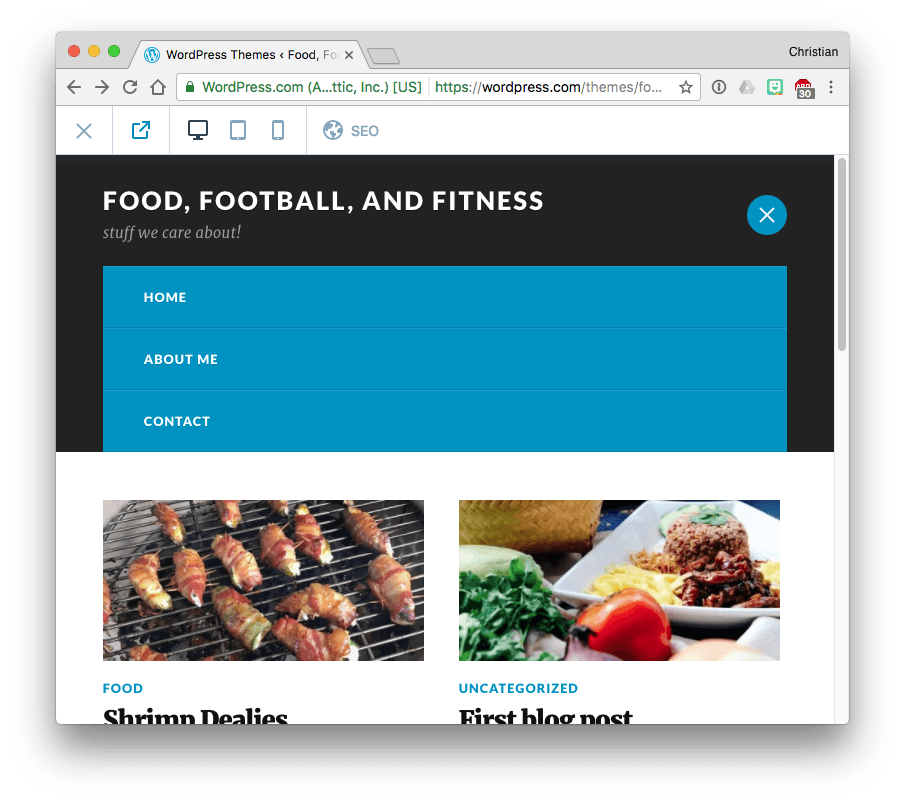
Here’s the menu, with our change.
Note: when in the Menus section of the Customizer, try dragging menu items up and down in the list to change their order. Fun stuff!
Back to the Customizer we go, and we are almost through! Now we are in the “Configure” section. In there, the most important items are Sharing, and Settings. So let’s look at them.
Sharing gives you the opportunity to connect your WordPress.com website to the big social media sites, including Facebook, Twitter, Google+, LinkedIn, and more. When you’ve made those connections, WordPress.com will let them know every time you publish a blog post. They’ll post a message on your Facebook page, they’ll send out a tweet, etc.
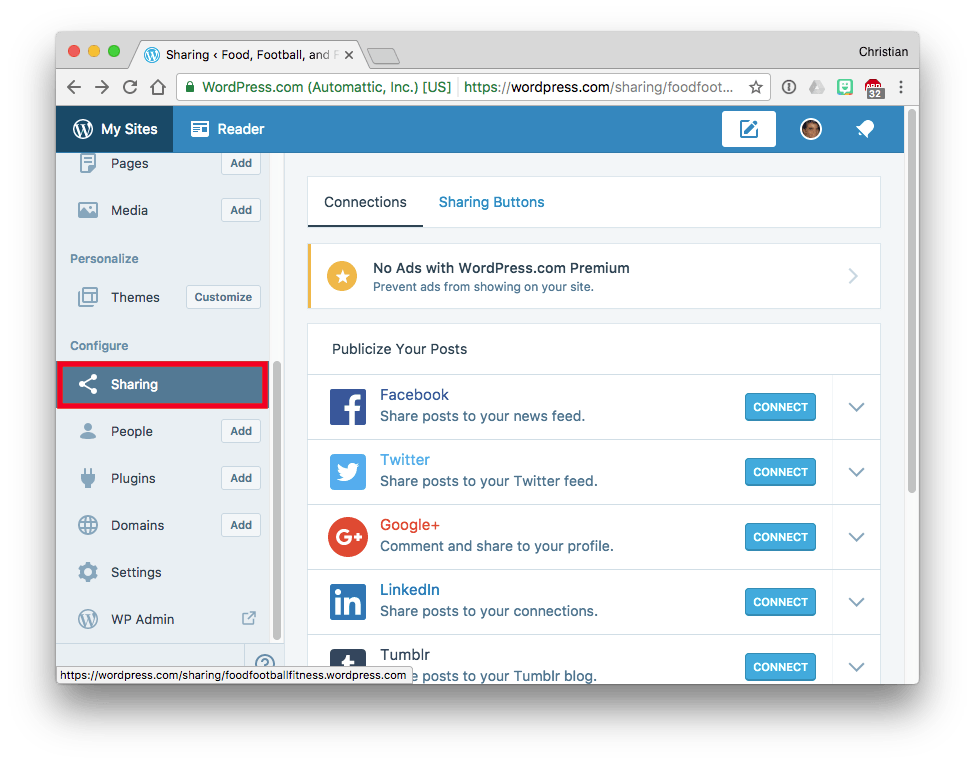
Here’s the Sharing section.
Just click the social media services you want to connect with. You have to have an account with a service first, and make sure you know your login name and password.
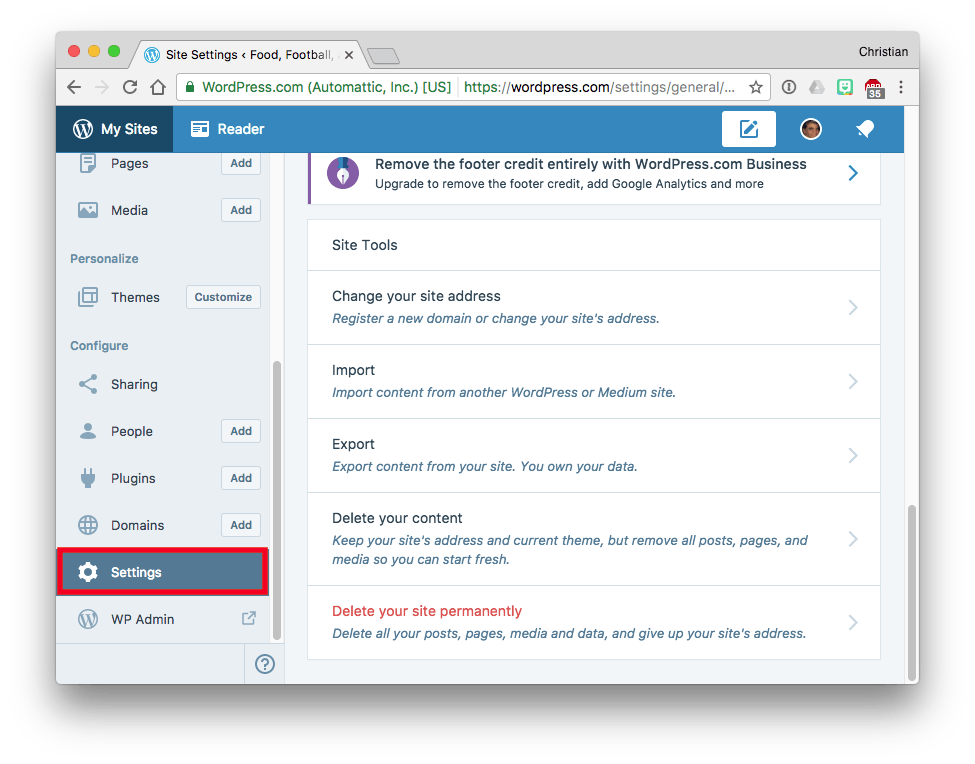
The last section we want to look at is Settings. There’s a lot of important stuff in there. The stuff at the top is stuff we’ve seen before, elsewhere, but it’s nice to be able to change it here too. Try changing the Site Icon– it’s a small thing but it gives your site a polished look.
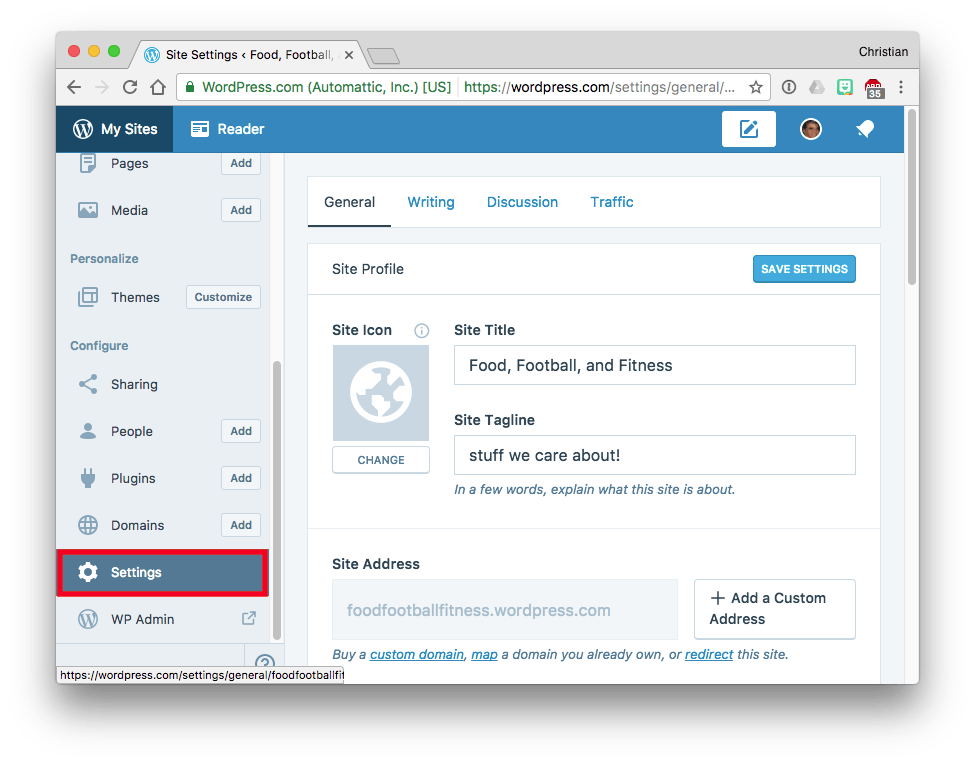
Scroll down in Settings and you find some very important items, including Export. This will come in handy if you decide to move your site to a hosting company like bluehost or FatCow— you can export from WordPress.com, then import into bluehost or FatCow. Super-smooth and easy.
We’ve covered a lot. You know enough to make a WordPress.com website and customize it. But there’s one more thing I want to show you and it’s at the bottom left of every WordPress window. It’s the help button (circle around a question mark). Click that, and you get something like this:

On the left-hand side you can edit your profile (including adding your picture), change account settings, and make other adjustments. On the right-hand side you gain access to a LOT of help— tutorials, support by email, and more. You should get familiar with the Help section– we all need it, whether beginners or not.
Of course there’s more to know. Of course. I’ll write about more advanced topics in another blog post. For now, play around with WordPress.com. Make a site, try a few things, learn by doing. You can always make another site, always start over (see the Settings). If you make a nice site send me a link to it and I will check it out. My contact info is in the Contact page.
Copyright 2008-2023 Christian Boyce. All rights reserved.Did this article help you?
Maybe you'd like to contribute to theChristian Boyce coffee fund.

Want some some quick iPhone how-tos?
Visit me at iPhoneinaminute.com.
Looking for quick tips about Macs?
See my One-Minute Macman website!

Please Leave a Comment